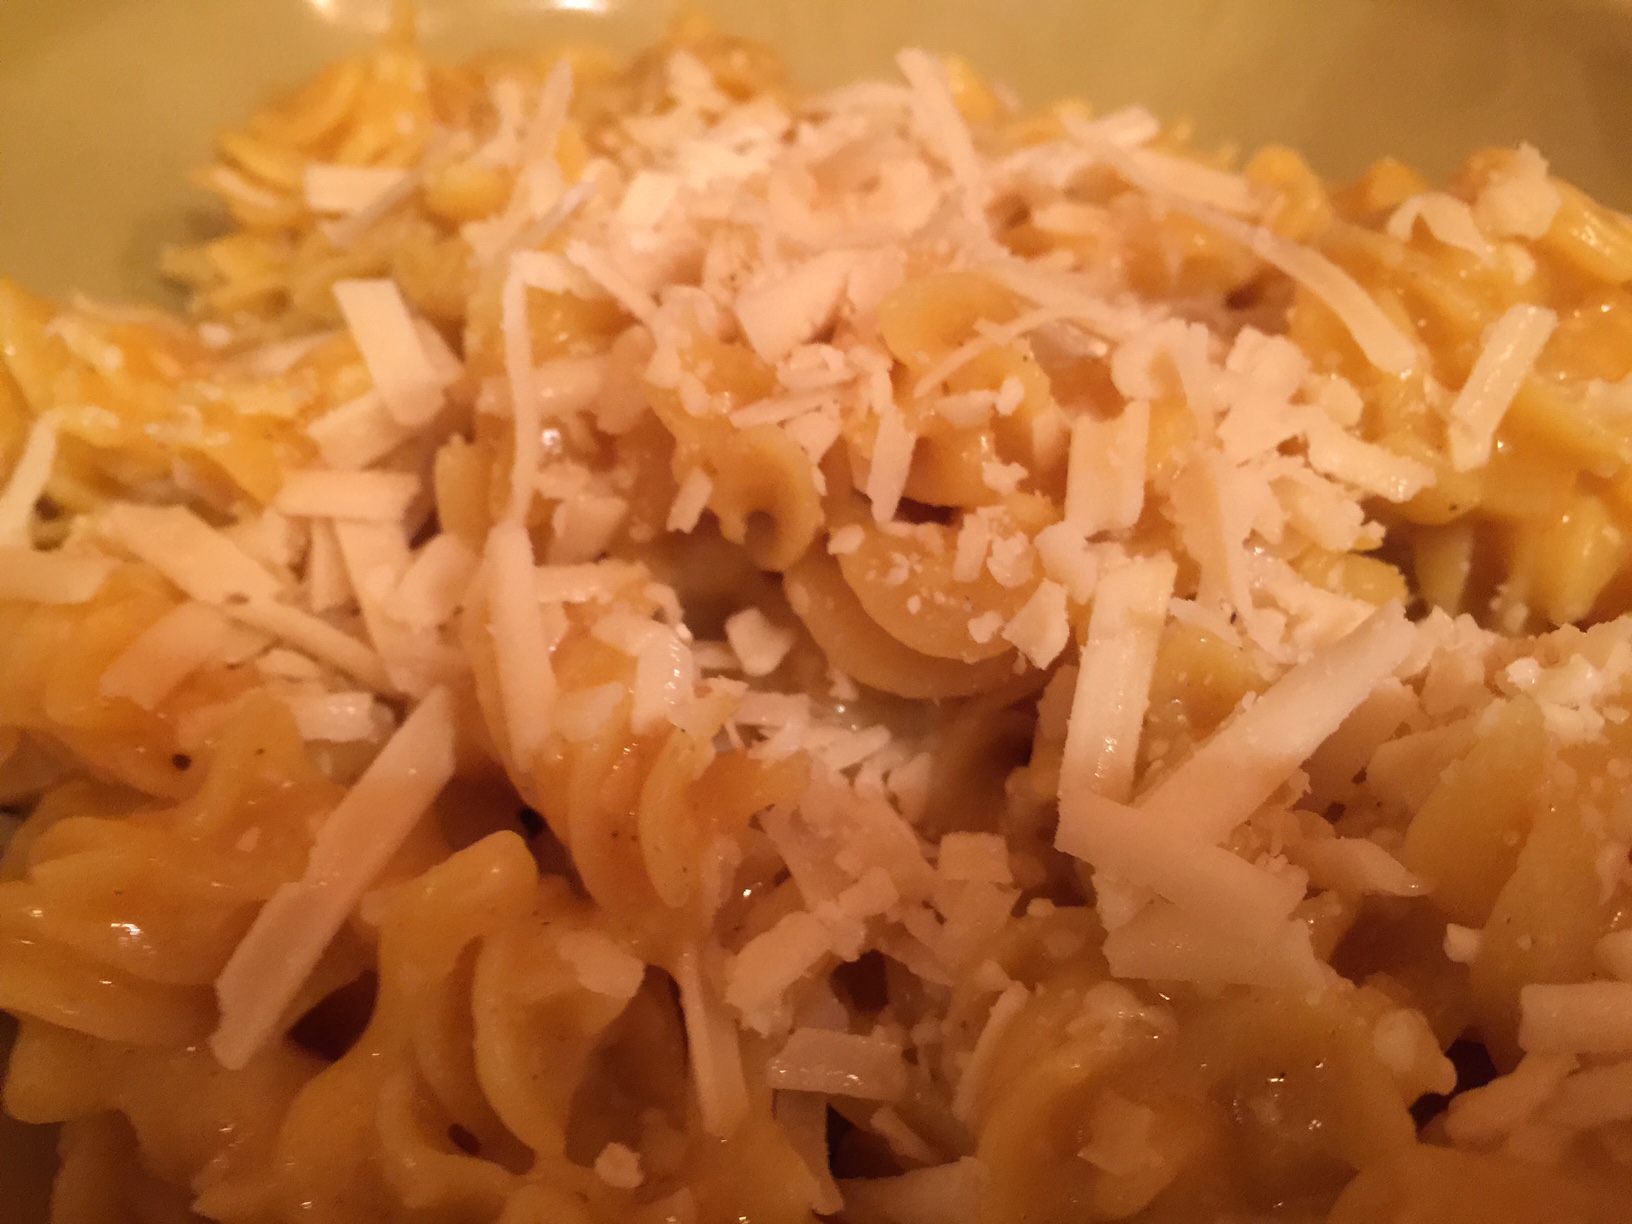
Macaroni & Cheese w/ Butternut Squash Sauce
Many of us are making New Year’s resolutions to either eat healthier or loose weight. Here is a great alternative to keeping your favorite comfort food on your list of great meals leaving out the extra calories. Plus getting that extra boost of vegetables.
Although this is not a dairy free recipe, since we are using cheese; the milk and butter have been eliminated making this a very low calorie option. I promise your family will not notice the difference in the pasta or the sauce. This recipe was inspired by Clinton Kelly from the Chew, alternatively, I eliminated the yogurt, milk and butter to reduce the calories and the dairy content.
Ingredients:
1 med butternut squash
1 ½ cup vegetable broth warmed
Dash of cayenne pepper
1 cup shredded Parmesan or Asiago cheese
1 Tbsp. kosher salt
Dash of nutmeg
1 Tbsp. Sriracha Sauce
Dash of black pepper
1 Tbsp. garlic powder
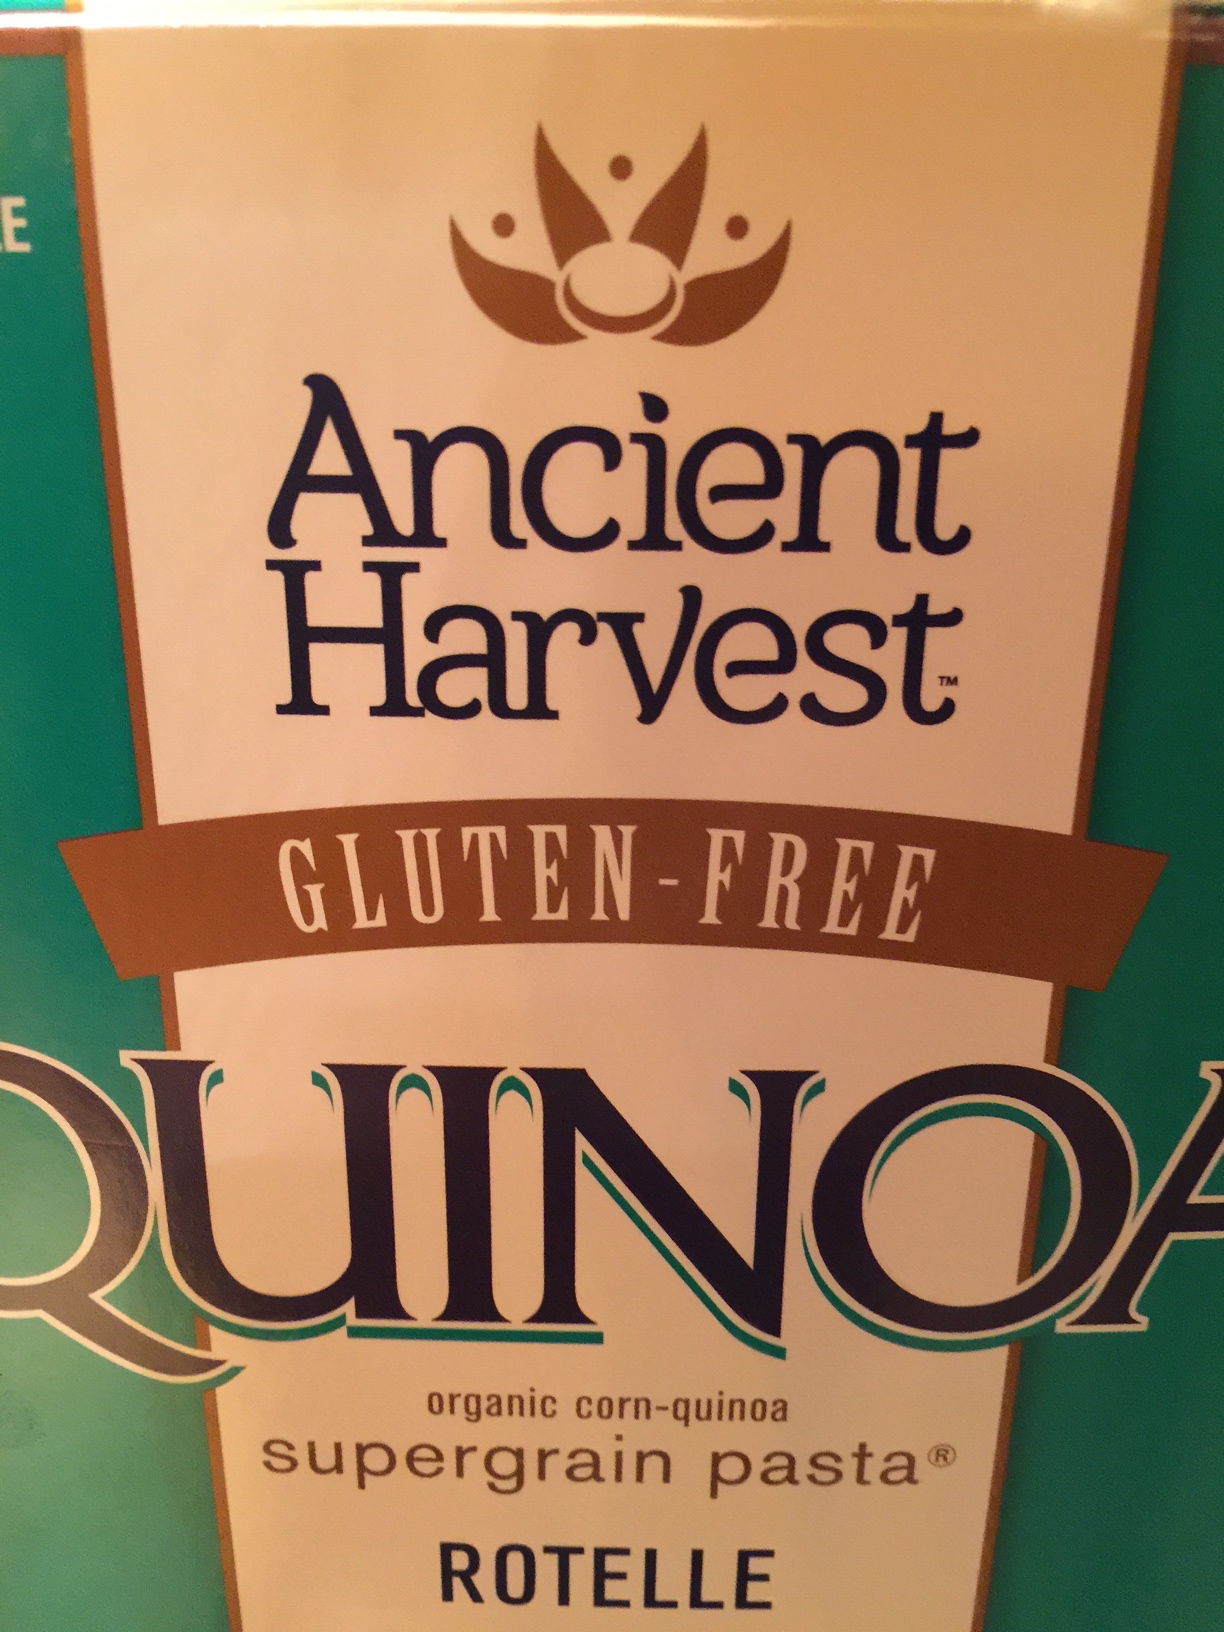
I box of quinoa pasta “Rotelle” or Elbow
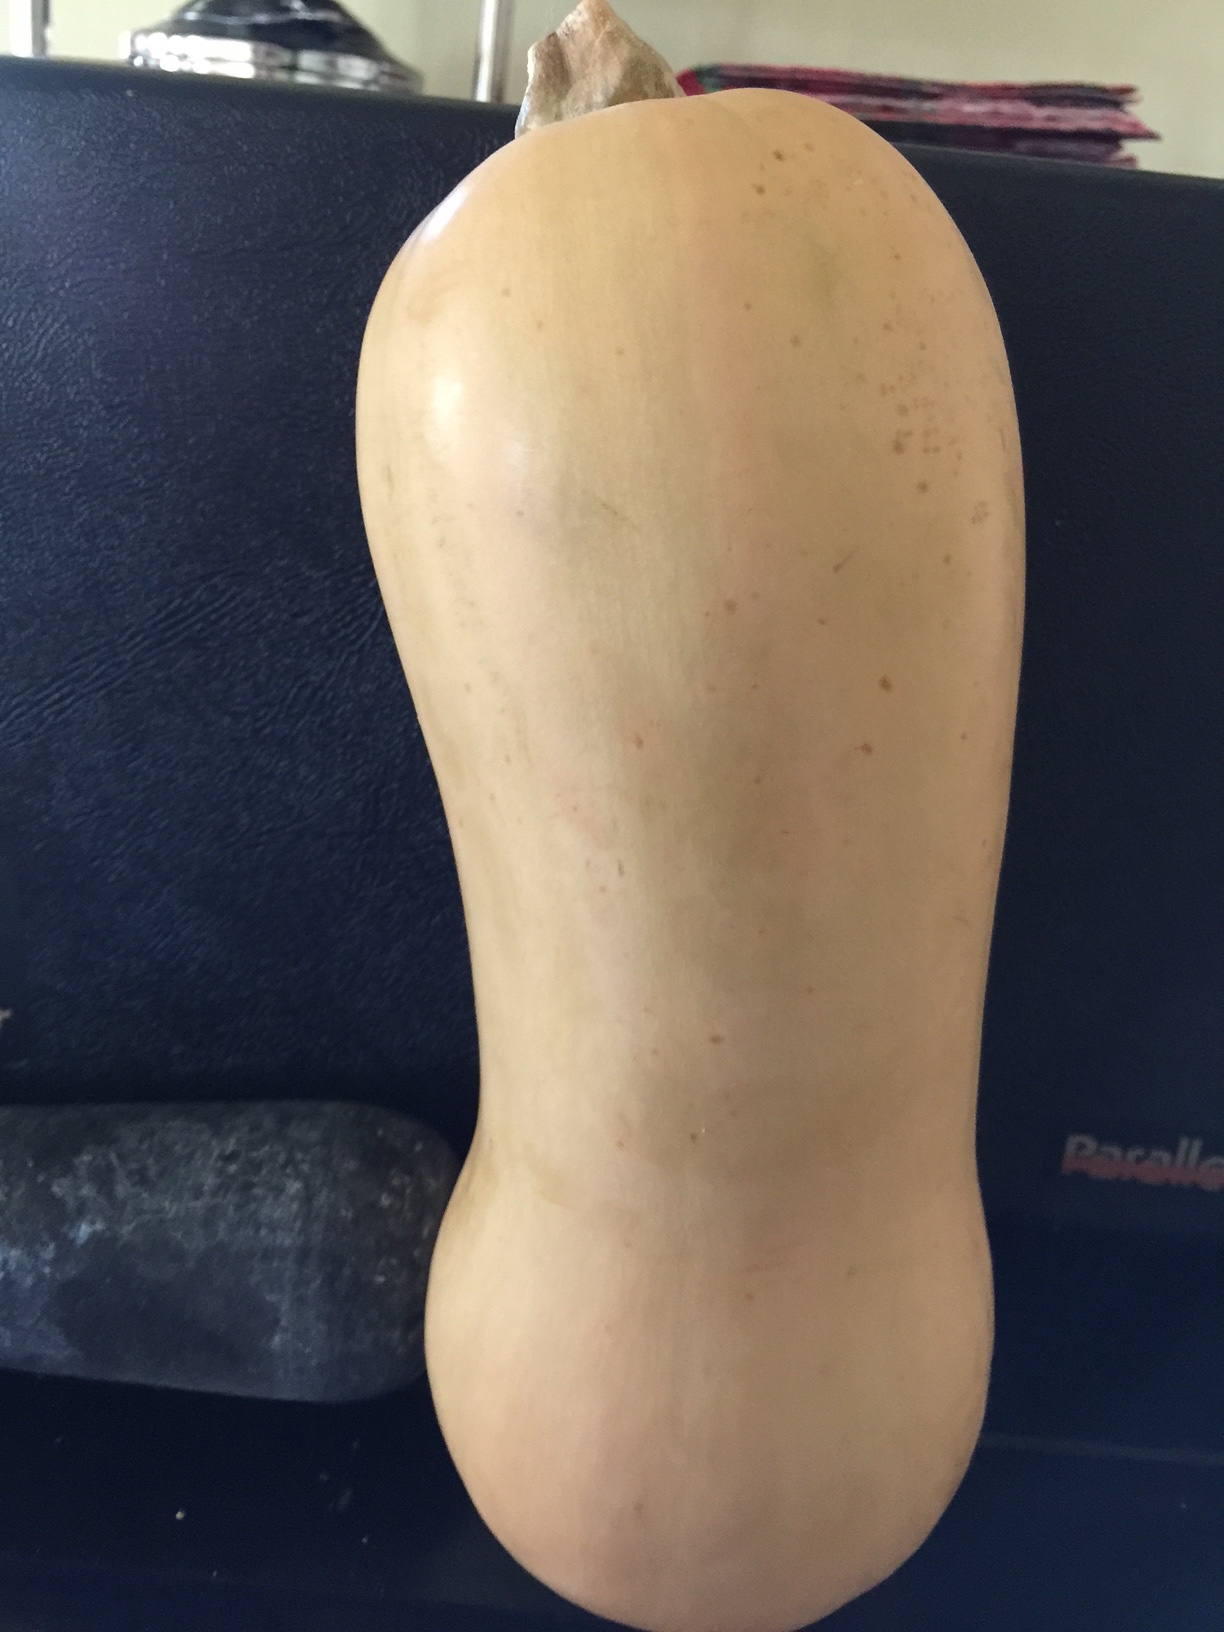
Cut squash in half. Place in a baking dish cut side down. Fill ¼ inch of water on the bottom. Bake at 375 degrees until soft, approx. 45 to 65 minutes.
Begin to prepare pasta 30 minutes after you begin baking the squash to be sure the pasta is hot but not overcooked.
After squash is soft remove any seeds and scoop from the skin. First warm the broth. This will help bring the sauce to blend easier.
Blend all the ingredients including squash in a Vitamix or food processor. Make sure to start mixing slowly since ingredients will be warm. This is your cheese sauce. Blend sauce to a smooth, velvety consistency. Add more vegetable broth if you would like a lighter consistency. Place sauce on stovetop to keep warm until pasta is done.
Quinoa pasta takes approx. 13 to 15 minutes to cook. Drain pasta allow it to retain some water. Place pasta back in pan and add the butternut cheese sauce. I like to add extra shredded cheese for more flavor and texture while I toss the pasta with the sauce.
The cheese sauce is delicious recipe. The spiciness from the Sriracha and cayenne helps kick up the flavor.
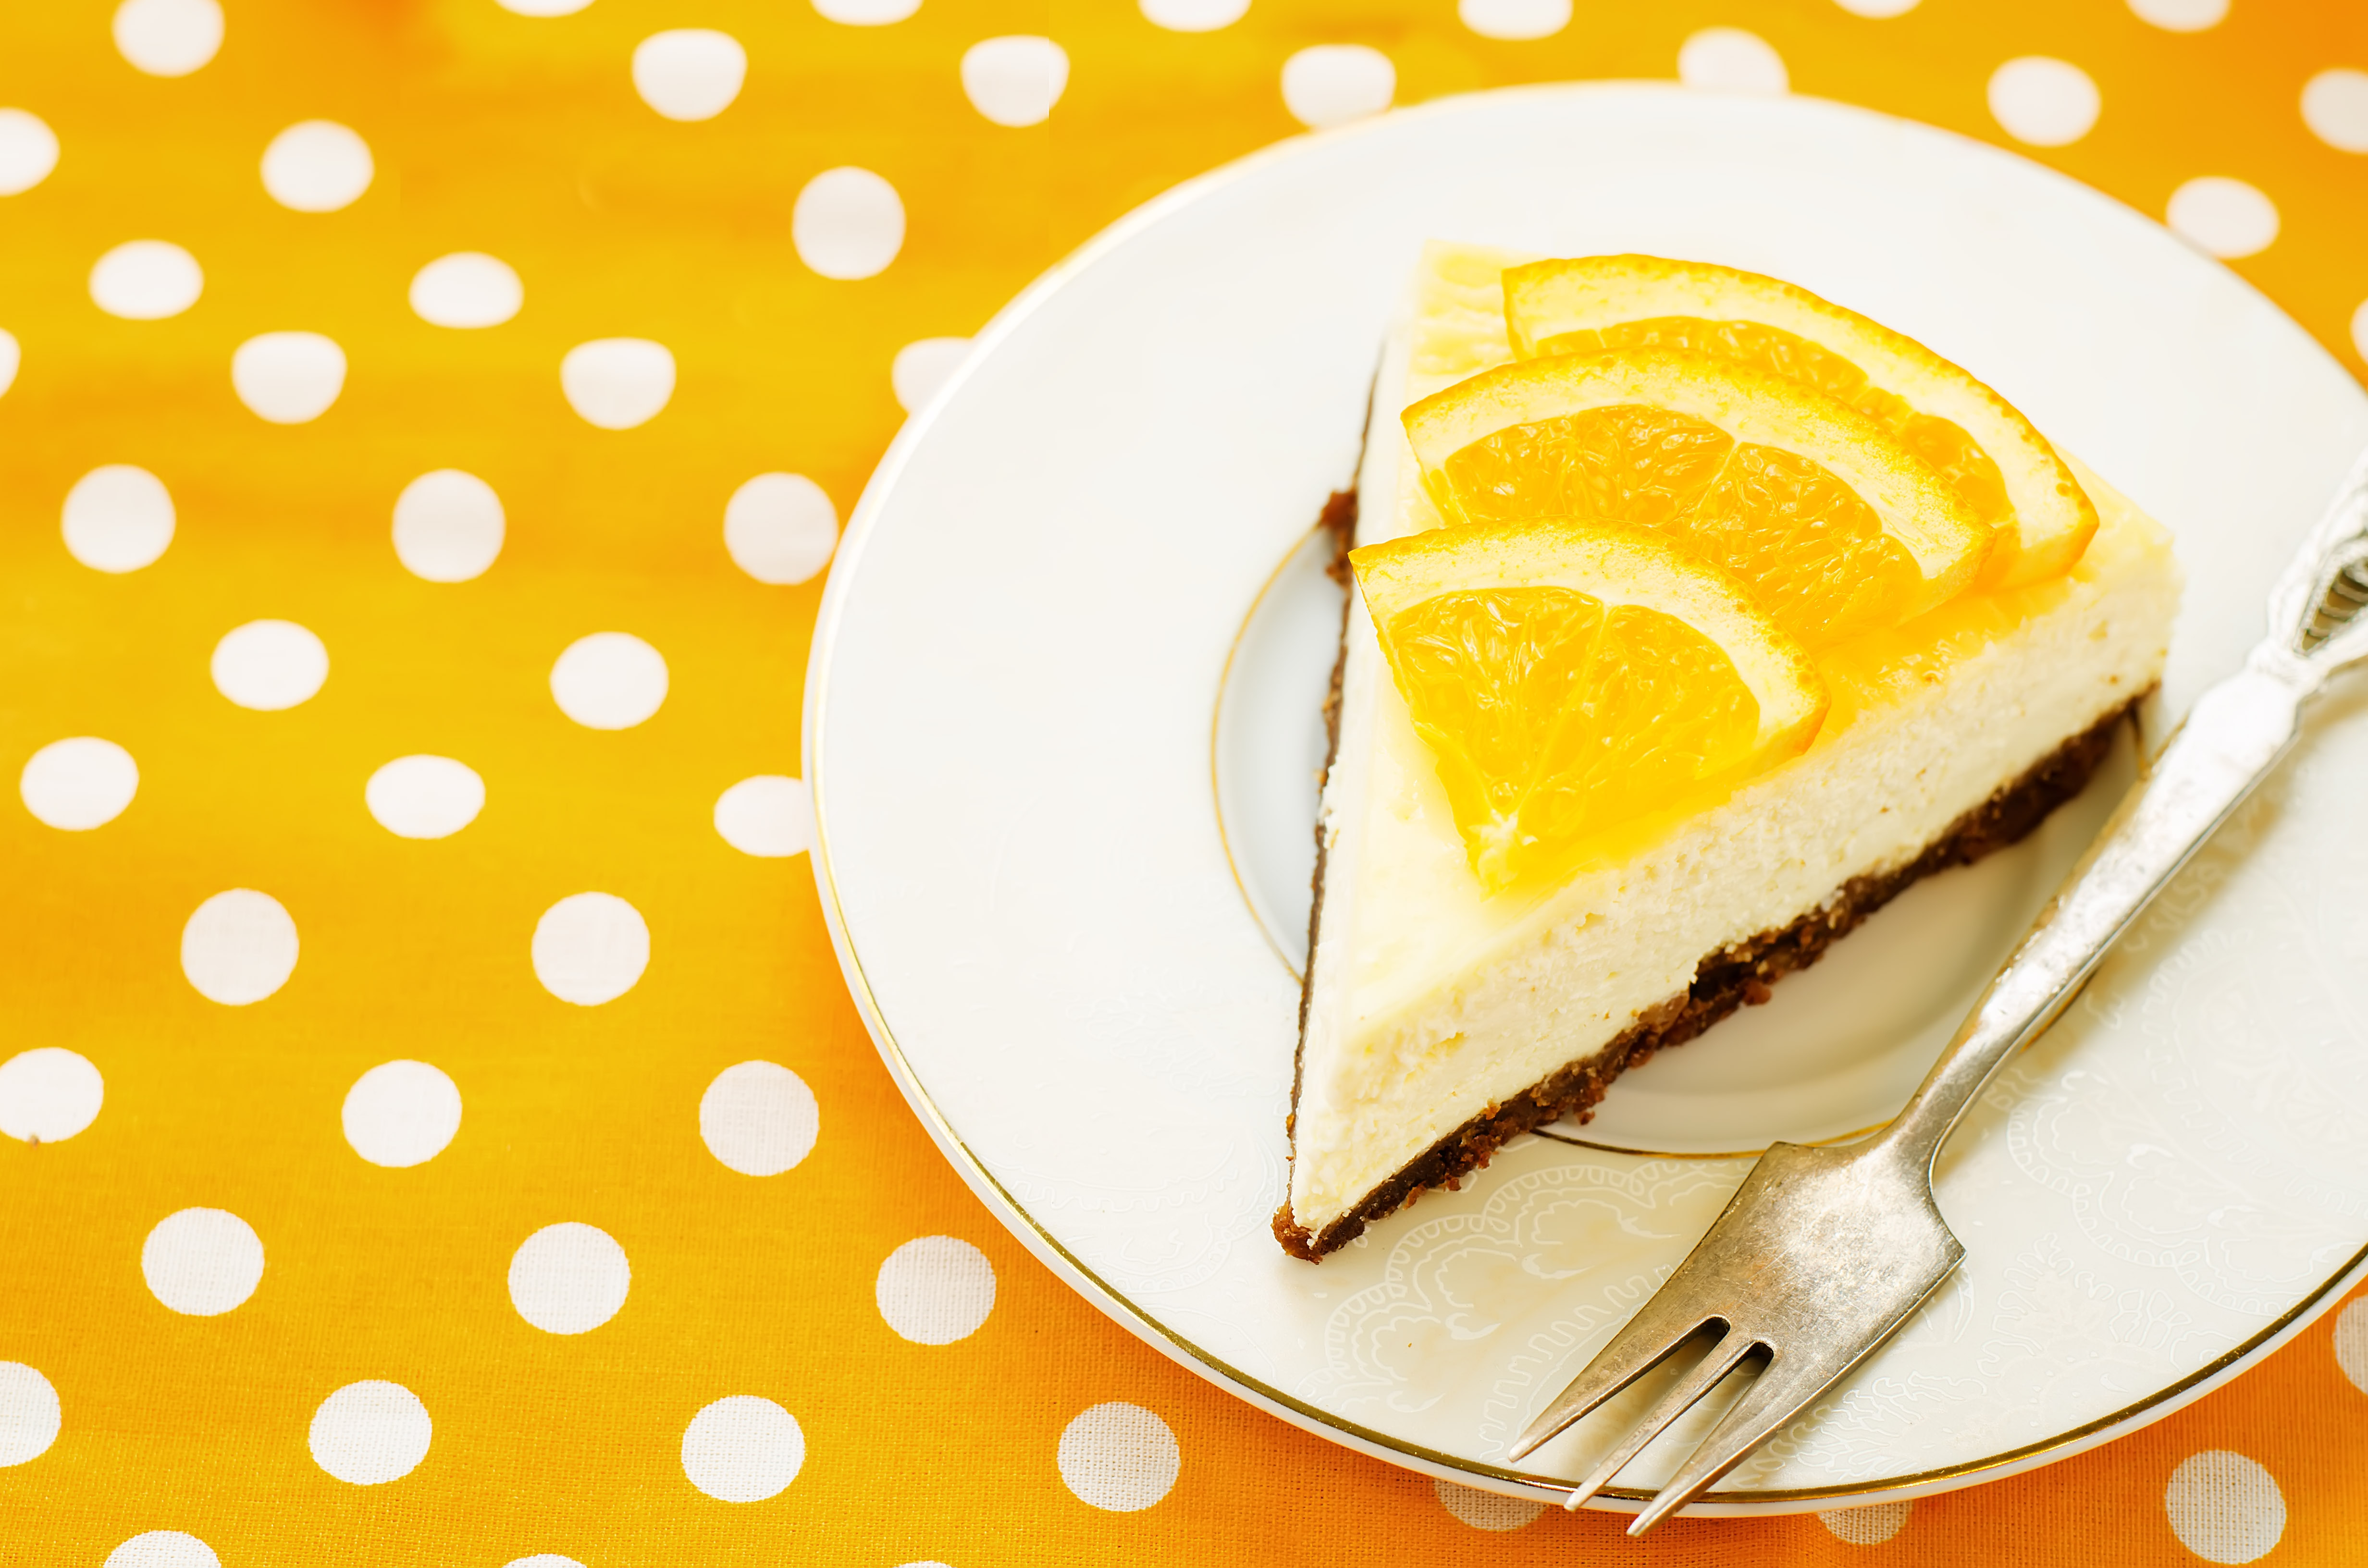
Limoncello Cheesecake
(Best if made the day before)
Ingredients:
3 – (8 ounce) packages cream cheese softened
1 cup mascarpone cheese
1 cup whole milk ricotta cheese
1 cup ricotta cheese whole milk
1 cup sugar
1/3 cup tapioca flour or (cornstarch)
½ cup limoncello liquer
3 large eggs
1 cup heavy whipping cream
2 tbsp. lemon zest
¼ tsp. salt (preferably sea salt)
Crust:
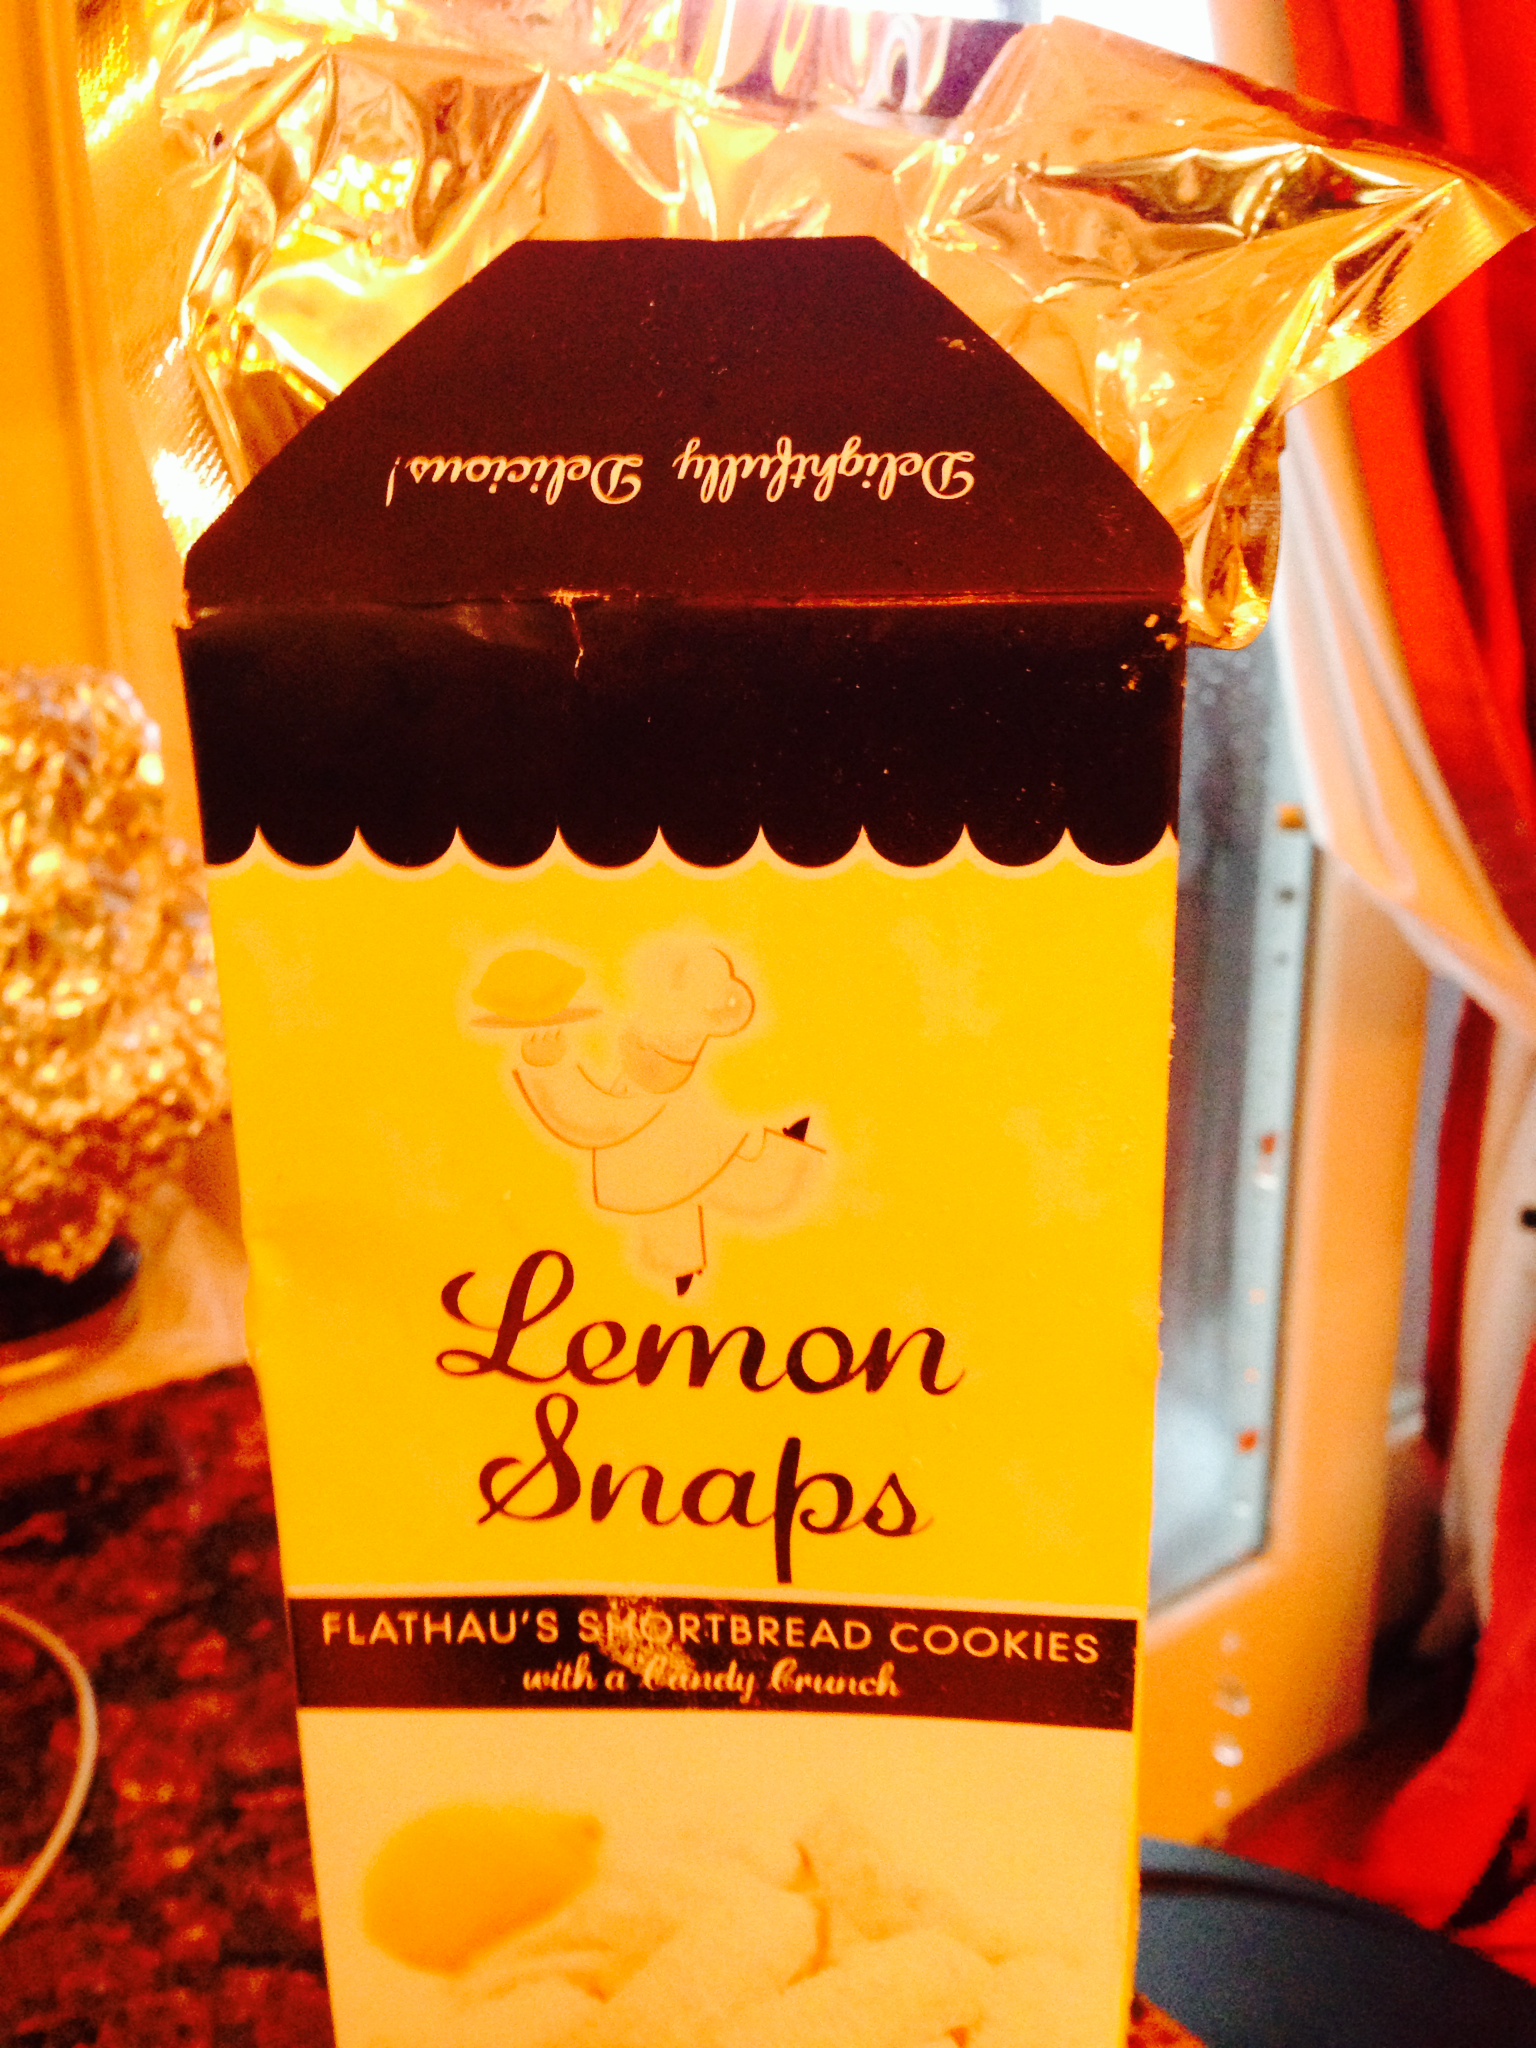
1 box lemon cookies or wafer. i.e lemon shortbread
1/2 stick melted margarine
1- 9 inch spring form pan
Directions:
Preheat the oven to 350 F
Cooking time 75 to 80 minutes
1) Make the lemon crust by blending the lemon cookies in food processor with the melted butter.
2) Place the crumbs in a thin layer on the bottom of a 9-inch spring form pan. Cook until the crust is a slightly browned on top approximately 12 minutes. Chill in freezer for 10 minutes while you make your filling.
Limoncello Cream Cheese Filling
Place 3 ounce package of the cream cheese,sugar, and the flour in a large mixing bowl. Beat with an electric mixer on low until creamy, about 3 minutes, then beat in the mascarpone cheese and ricotta cheese blend for one minute on medium speed. Scrape the bottom well with a spatula. Add the eggs in one at a time.
Add the heavy cream, while scraping bottom to avoid any lumps with the cream cheese mixture. When well blended add limoncello and zest. Incorporate well.
Gently pour the cheese filling on top of the chilled cookie cracker crumb spring form pan.
Place the spring form pan in a large shallow pan containing hot water that comes about 1 inch up the side of the pan.
Bake the cheesecake until the center barely jiggles when you shake the pan, about 1 hour and 15-20 minutes. Until lightly browned on top and firm.
Turn oven off and leave cheesecake in oven for an hour with door closed. After an hour , remove from oven and cool cake or wire rack or on stove top so air circulates under the cake. This will prevent the top from cracking.
Cover the cake with plastic wrap and refrigerate. Leave in the spring form pan until ready to serve.
Serve with lemon curd or whipped cream to garnish.
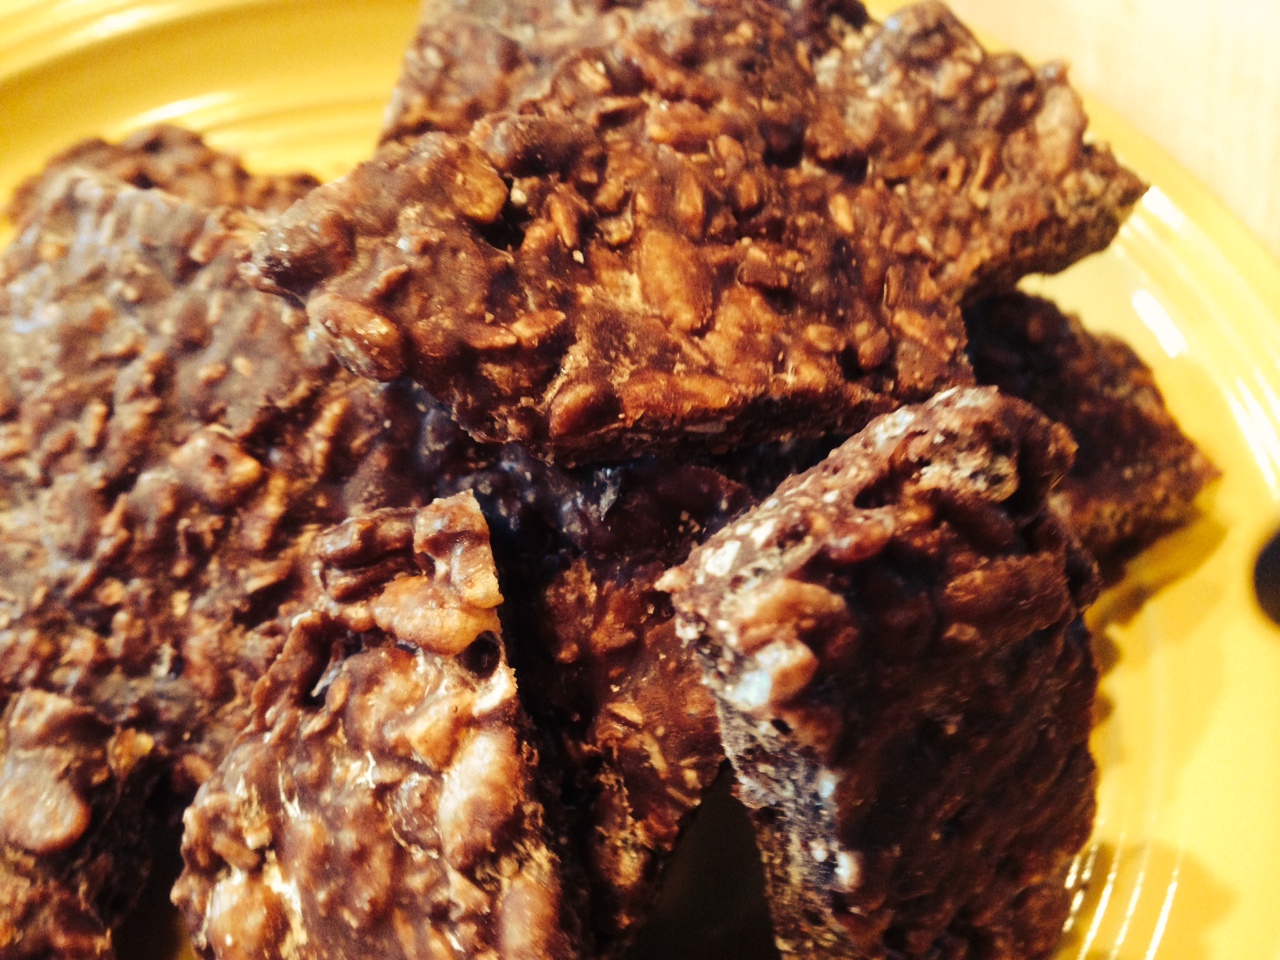
Holiday Chocolate Crunch Bar – Healthy Candy
Getting Back to Chocolate….
Who says chocolate is not good for you. This chocolate candy with the purest ingredients like Raw Cocoa powder is considered a superfood and is a “healthy way ” to get back to chocolate.”
All ingredients are best left at room temperature ( this allows mixture to come together when stirring and blends well)
2 cups almond butter
3/4 cup of cacao powder
1 cup coconut oil
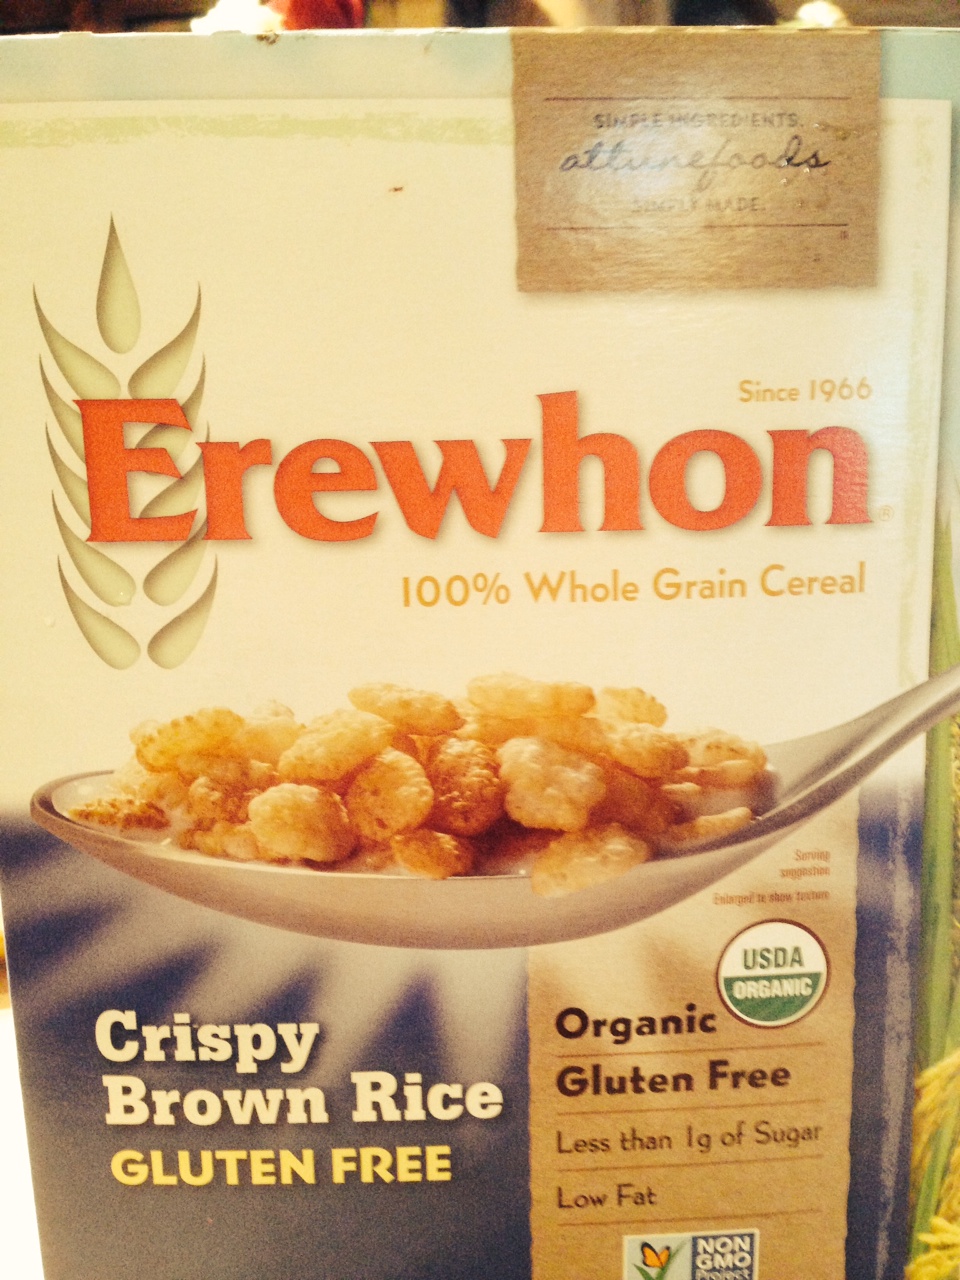
2 cups brown rice crispies
¼ cups honey
¼ cups maple syrup
1 tbsp. Maldon Salt or ( kosher salt)
1 tbsp. vanilla Madagascar paste
http://m.vitacost.com/products/navitas-naturals-organic-cacao-powder-raw-chocolate-16-oz-2
http://www.beanilla.com/vanilla/vanilla-paste
Blend all well with rubber spatula. Put chocolate in any favorite mold or place on a cookie sheet and break into bite size pieces when ready for consumption.
Leave in freezer. Take out when ready to serve.
This chocolate bar is so rich in nutrients and flavor you will not crave more chocolate as you would a store bought candy bar.
You will feel satisfied completely with only 1 to 3 ounces of this rich chocolate bar. It will be hard to go back to eating inferior chocolates .
Navitas Naturals Cacao Powder provides us with antioxidants and important minerals like magnesium and iron. It is gluten free, organic kosher and raw. This is cocoa powder in its purest form.
Pure raw chocolate lowers blood pressure Cacao is the highest whole food source of magnesium, which also happens to be the most deficient mineral in the diet of modern cultures. “Magnesium relaxes muscles and the dark chocolate antioxidants have been clinically proven to literally dissolve plaque built up in the arteries which helps in reversing heart disease and causes naturally lower blood pressure. Also, various other vitamins and minerals in raw cacao benefits the cardiovascular. “
** The Theo bromine naturally found in raw cacao is a mild, non-addictive stimulant that some believe can treat depression.
Of course, this chocolate bar is an expensive endeavor but we are all worth it . It is a great way to wean yourself off store bought chocolate
Pistachio Layered Cake w/ White Chocolate Marscapone Cream Frosting
Who doesn’t love pistachios. This cake is extra moist because of the macadamia and coconut oil along with the fresh pistachios. This cake has a very intense fresh pistachio flavor .
The white chocolate marscapone frosting is an excellent complement to our Pistachio Cake . If you do not bake, this cake could be an excellent start to your new baking career. It is simple and quick.
Cake
Use 2- 9 inch layered cake pans
1 box (18.25 ounces) white cake mix
1 package (3.4 ounces) instant pistachio pudding mix
1 cup seltzer water
4 eggs
¼ tsp. vanilla extract
¼ cup half & half
Pistachio Nut Butter:
Separately in food processor:
Blend next 4 ingredients for 2 minutes to a chunky pistachio nut butter:
½ tsp. sea salt
¼ cup pistachios
¼ cup macadamia or pistachio oil (Roland)*
2 Tbls. coconut oil

Cake:
1. Heat oven to 350 F. Coat two 9-inch round cake pans with coconut oil.
2. In a large bowl beat: cake mix, pudding mix, eggs, seltzer water, vanilla extract and half & half at medium-high speed for approx 3 minutes. Scrape down sides of bowl.
3. Separately, in food processor, make pistachio nut butter . (Recipe above). Add to cake and pudding mixture . Beat batter 2 minutes longer until well blended .
4. Equally divide batter between prepared cake pans. Bake at 350 F for 35 minutes, or until a toothpick inserted in the center comes out clean. Cool cake layers in pans on wire rack for 15 minutes. Turn cake layers out directly onto wire rack and cool completely.
Frosting
2 -8 Oz. pkg. cream cheese at room temperature
1 16 Oz. marscapone cheese
1 12 Oz. pkg. white chocolate morsels melted
1 cup of half & half
*5-8 drops green food coloring depending on your color preferences
Blend Well. Frost the pistachio cake after it has chilled in refrigerator for a few hours. A fantastic combination.This cake stays moist for almost a week.Who doesn’t love pistachios. This cake is extra moist because of the macadamia and coconut oil along with the fresh pistachios. This cake has a very intense fresh pistachio flavor .
The white chocolate marscapone frosting is an excellent complement to our Pistachio Cake. If you do not bake this cake is an excellent start to your new baking career.