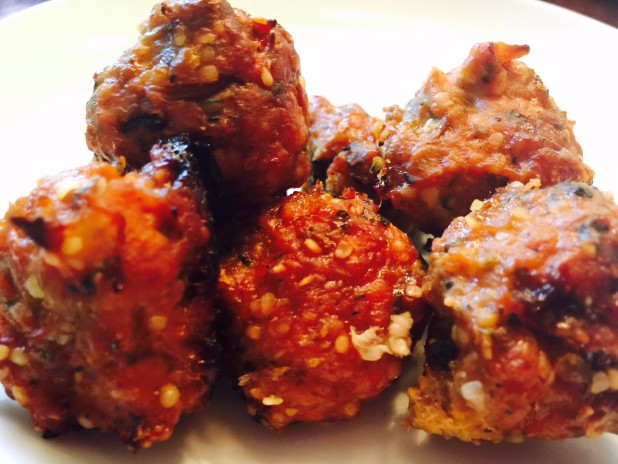
Izzy’s famous turkey meatballs with caramelized onions have been a savior at night instead of picking at something sweet with loads of carbs. These meatballs have a simple sweetness from the caramelized onions and are very healthy. I love to eat them with salad as it is a very satisfying light and delicious lunch or dinner.
These meatballs are also great snacks especially in the afternoon when you need that little pick me up and you’re craving something sweet. I always think a “little go to snack” at your fingertips is key to a great nutritional food day and these turkey meatballs actually satisfy all those needs.
Please enjoy these meatballs as I have enjoyed sharing this recipe with all of you.
Ingredients:
2 lbs ground turkey
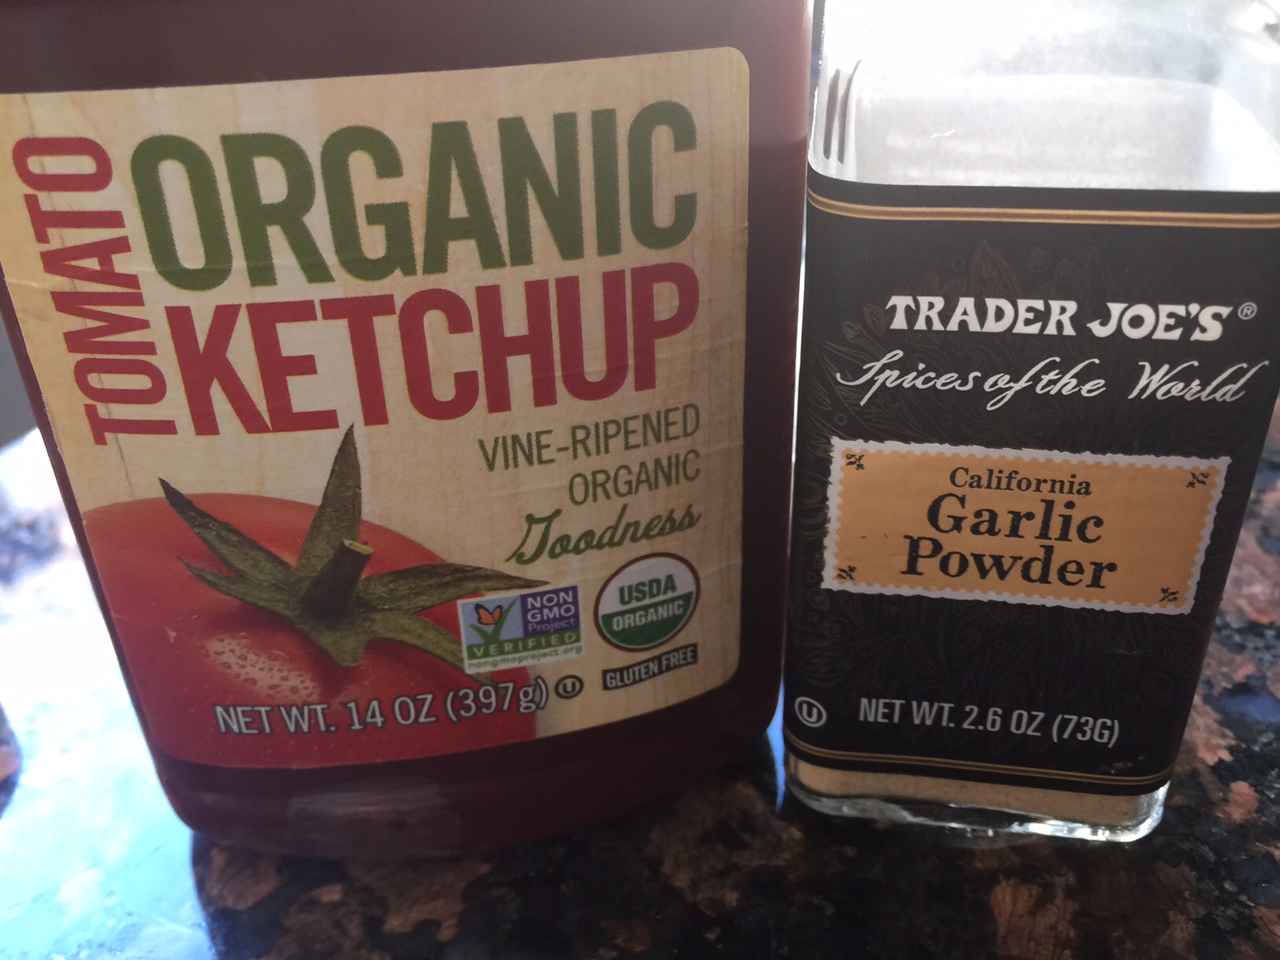
1 Tbsp. garlic powder
1 tsp kosher salt
1/2 cup of organic ketchup
1 egg organic
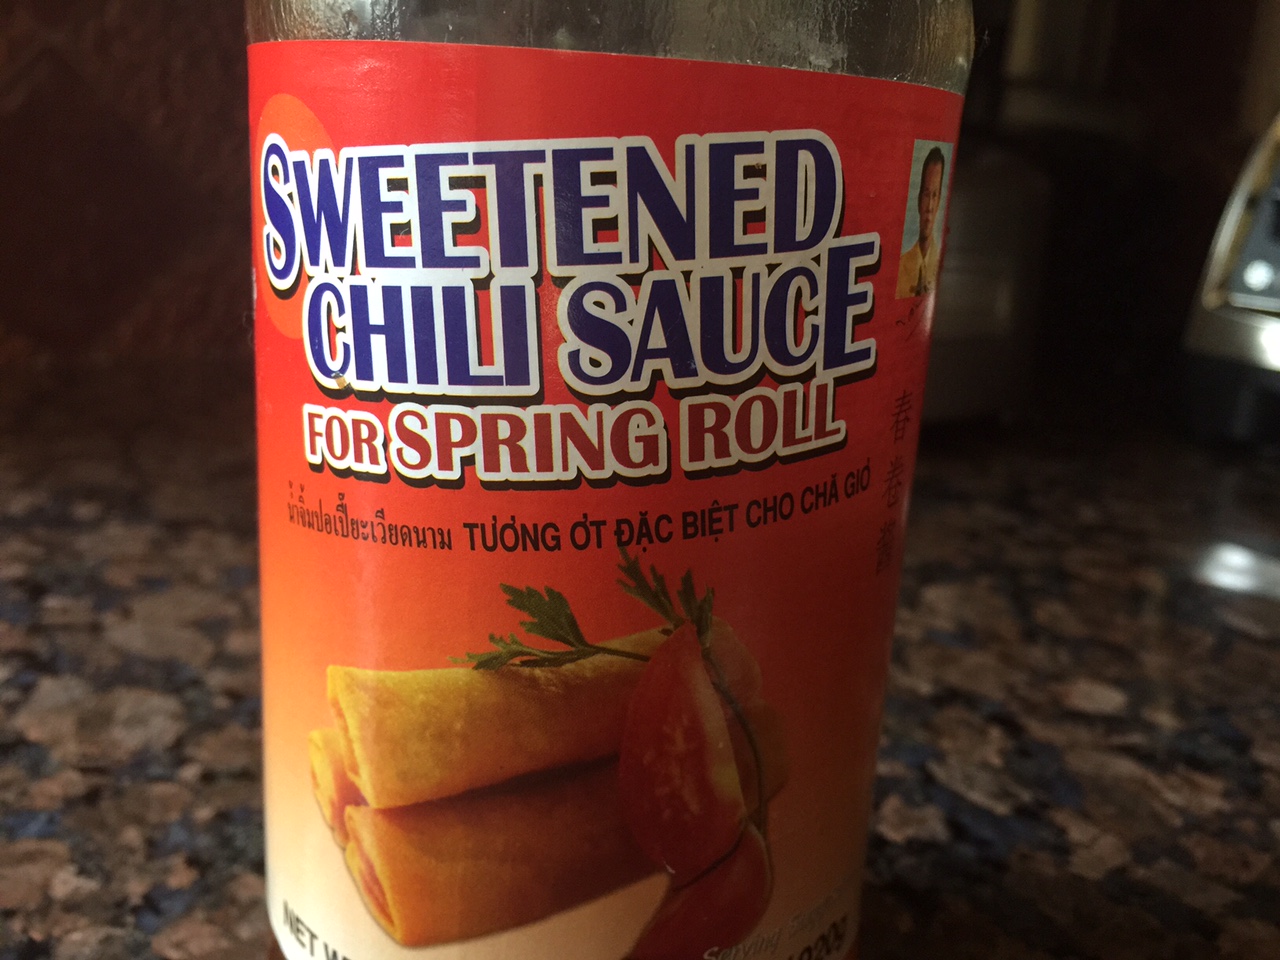
¼ cup chili sauce
¼ cup Parmesan cheese (or other non dairy substitutes)
1 cup hemp seeds
Olive oil to coat bottom of pan
2 baking pans or cookie sheets with at least ¼ inch rim
Caramelize Onions Ingredients:
1 large onion diced
3 Tbsp. olive oil
1 Tbsp. garlic powder
1 tsp kosher salt
¼ cup Sherry or Marsala wine
Caramelizing onions Instruction:
First begin by caramelizing 1 large diced onion. Add oil to saute pan and heat well. Then add onions, sea salt, ? garlic powder and cook over medium heat for approx. 10 to 15 minutes. When well browned, add ¼ cup of Sherry wine and ?simmer for approx. 3 minutes longer to absorb the Sherry flavor. Cool off onion mixture.
Meanwhile, mix turkey, salt, garlic powder, egg and ketchup together. Add spices, cheese and hemp seeds along with chili sauce and caramelized onions. Placemixture back in refrigerator for 15 minutes to get it firm enough to roll into meatballs.
Coat bottom of baking pans with oil. Roll meatball approx 1 to 2 inch rounds and bake at 350 degrees for one hour.
Makes approximately 35 mini meatballs.
I make a batch a week and leave it in my refrigerator and when I feel hungry I grab a few meatballs. They are a nice boost of protein. Enjoy your new found shack and your children will love these too!