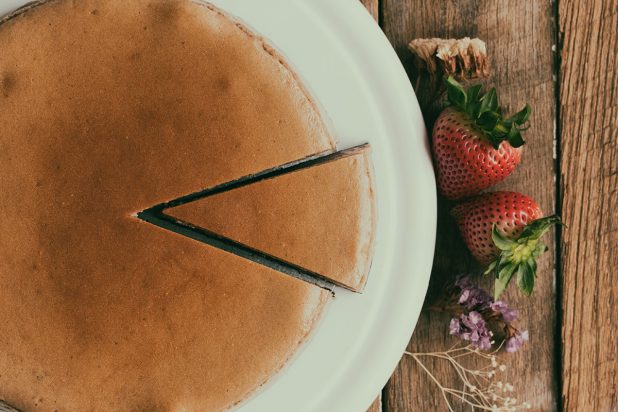
pistachio cheesecake

Pistachio Cheesecake

pistachio cheesecake

(Best if made the day or 2 days before)

Ingredients:

5 – (8 ounce) packages cream cheese softened
2/3  cup organic cane sugar
1 Tbsp. cornstarch
1 package pistachio pudding-n-pie filling (Jello)
5 large eggs
2 cups heavy whipping cream
1 Tbsp. Vanilla Nielsen (Massey preferably)
¼ tsp. salt (preferably sea salt)

Crust:

1/2 cup Pistachios  shelled
½ bag Stella Doro – Margarite blend – plain vanilla – (12 cookies)
1/8 stick melted butter or 2 oz.
1- 9 inch spring form pan

stella dora cheesecake crust

Directions:

Preheat the oven to 350 F

Cooking time 75 to 80 minutes

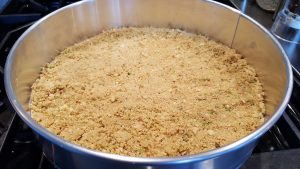
1) Make the pistachio crust by blending the Stella Doro cookies in food processor with pistachios. Once blended to a nice crumble, add the melted butter.

2) Place the crumbs in a thin layer on the bottom of a 9 inch spring form pan. Cook until the crust is a slightly browned on top approximately 12 minutes. Chill in freezer for 10 minutes while you make your filling.

    Pistachio Cream Cheese Filling:

Whip in a mixer, 3 packages of the cream cheese, slowly for 2 minutes. Add 1/3 cup sugar. Whip for 1 more minute. Scrape the bottom well lifting up the cream cheese mixture. Add the pistachio pudding mix and remaining sugar, cream cheese, vanilla and salt. Continue beating slowly adding eggs one at time for about 3 minutes. Scrape the bottom well with a spatula. Add heavy cream until well incorporated.

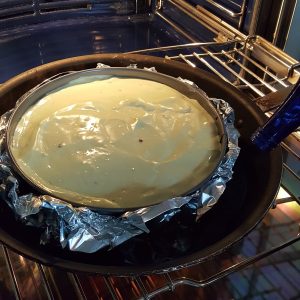
Gently pour the cheese filling on top of the chilled pistachio cookie cracker crumb spring form pan.

Place the spring form pan in a large shallow baking pan lined with aluminum foil. Fold the foil around the spring formed pan with the cheesecake filling in it. Be sure the aluminum foil acts as a barrier to not allow water to soak through the bottom of the spring pan. Add hot water 1/2 way up the outside of the spring pan aluminum barrier. Easiest to add water once pie is in placed in oven.

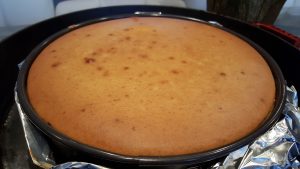
Bake the cheesecake until lightly browned on top and firm. DO NOT OPEN OVEN.

Turn oven off and leave cheesecake in oven, WITHOUT opening the oven door for at least 2 hours. *This will prevent cracking. Do not open the oven door. Once cooled, cover the cake with plastic wrap and refrigerate. Leave in the spring form pan until ready to serve.

Serve with whipped cream to garnish.

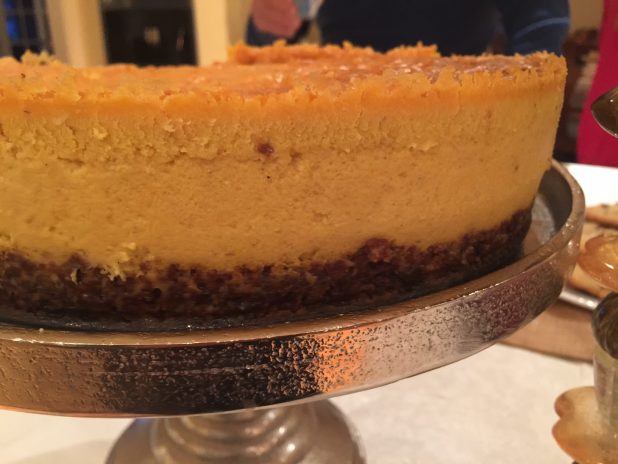
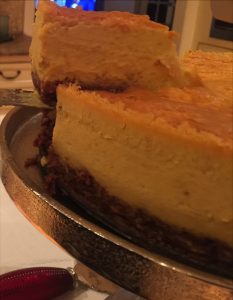
pumpkin-cheesecake

Pumpkin Mascarpone Cheesecake

Best to make 2 days before. This is a cheesecake that gets better the longer it sets. It is a very light and silky cheesecake. It will be the hit of all holiday parties. This cheesecake does not have a strong pumpkin flavor. The flavors are very subtle.

INGREDIENTS (18)

Pan:  9  inch spring form pan

Pre heat oven to 375.

For the Crust:

  • 2 cups paleonola maple flavored  crushed fine ( gf)-granola) 1 bag
  • 1/4 teaspoon freshly grated nutmeg
  • 8 tablespoons butter melted (1 stick)
  • 1/4 teaspoon sea salt

For the Filling:

  • 2 15-ounce can pumpkin purée (not pie filling)
  • 2 cups Mascarpone cheese – room temperature
  • 1 8 oz cream cheese – room temp
  • 1 cup heavy cream – room temp
  • 1 tsp. maple cream or maple syrup
  • 2  Tbsp. cornstarch
  • 4 large eggs – room temp
  • ½ cup coconut sugar
  • ½  cup organic cane sugar
  • 1 Tbsp.  Vanilla Madagascar (preferable)
  • ¼  tsp. sea salt
  • 1 tsp. pumpkin pie spice powder
  • ½ tsp.  nutmeg
  • ½ tsp. cinnamon

Crust:

In a food processor place bag of paleonola  and blend until it resembles a coarse crumble. Add salt and melted butter. Blend in processor for another minute with additional spices.  The crumble for crust should hold together. Cover bottom of spring form pan with paleonola mixture. Bake the crust on a baking sheet until set and light brown, about 20 minutes.

Pumpkin Filling:

Tip: Most important thing to know is that all ingredients need to be at room temperature. This is to ensure cheesecake doesn’t crack.

With a hand mixer and cake mixer on low speed, blend together the pumpkin purée, pumpkin pie spice, cinnamon, nutmeg and salt and mix gently for 2 minutes, scraping down the sides and bottom of the bowl often. Add eggs in one at a time, 4 in total. In a separate bowl, combine the marscapone cheese with the cornstarch, coconut sugar and vanilla and . Blend gently for a minute then add heavy cream.  Beat at a low speed .  Add the mascarpone with the pumpkin and mix gently for 2 to 3 minutes, scraping the bowl. Make sure well incorporated.

Bake the Cheesecake:

Preheat oven to 425. Pour the pumpkin filling over the crust. Shake pan so as to get rid of any air bubbles. Wrap the bottom of the pan with aluminum foil to prevent water leakage into the pan. Place the filled cake pan in a deep baking dish and set them on the oven rack. Add enough water to the pan so that it comes up three-fourths of the way up the sides of the cake pan. Bake the cake for 15 minutes at 425 then lower the temperature to 300 for an hour or until the center of the cake is lightly set. Do not open door at anytime. Turn oven off but leave cake in oven for at least 30 minutes. Carefully remove from oven.  Remove foil when ready to serve.. Cool it to room temperature on a wire rack so air circulates under cheesecake. This will ensure crust does not crack.  Refrigerate the cake for at least 8 hours before unmolding. Best to make 2 days before. This is a cheesecake that gets better the longer it sets.


Health Benefits of Pumpkin:

Pumpkin has lots of health benefits!

Here are 5:

  1. Pumpkin seeds are very high in magnesium, containing nearly half of the recommended daily value in only a quarter cup!
  2. Pumpkin builds the immune system.
  3. Pumpkin is rich in beta-carotene.
  4. Pumpkin is rich in natural enzymes, which are great for your skin. Eat it or apply it as a nutrient dense mask!
  5. Pumpkin is has tryptophan.  Tryptophan is an essential amino acid that your body uses to make proteins, the B vitamin niacin, and neurotransmitters serotonin and melatonin. These chemicals induce relaxation and minimize stress.
CMI-butternut-squash-pie-1

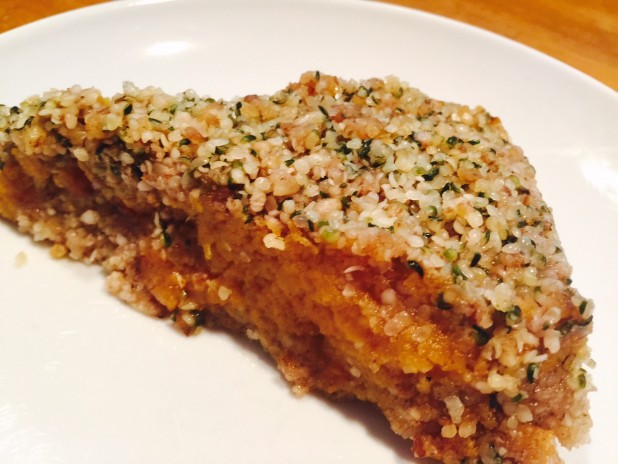
Butternut Squash Pie with Walnut

This pie is so delicious and versatile. It is slightly sweet and savory! It is a great pie for Thanksgiving Holidays.

Ingredients:
3 cloves garlic
2 Tbsp. Olive oil
2 Tbsp. ghee
¼ tsp salt -Sea or Himalayan salt
1 tsp. pumpkin pie spice
Dash of nutmeg
Dash red cayenne pepper
1 pkg. approx 20 oz to 2 lbs butternut squash – cut (approx 2 squash)

Directions for Pie Filling:
Add all ingredients into roasting pan, except for egg whites and honey.
Roast for 30 minutes at 375.

While squash is roasting, begin to make the Brazil Nut crust.

Directions for Pie Crust Ingredients:

3 Tbsp ghee melted
1 1/2 cups Brazil Nuts ***
Pie dish 9 inch
Dash of salt
Place all ingredients in food processor to make fine crumble. Line bottom of pie dish with Brazil Nut crumble and bake for 20 minutes at 375. Chill for 10 minutes in refrigerator before adding Pie Filling.

Assemble Pie Filling:

In food processor, puree roasted squash with:

2 Tbsp. raw honey
1 tsp maple syrup

Place in refrigerator. Chill for 15 minutes.

While filling is chilling 🙂

Beat 3 egg whites until stiff peaks form.
Fold into chilled butternut squash filling.

Make the crumbled topping while the nut crust is baking and the squash is chilling.

Topping Ingredients (Walnut and Hemp Seed Crumble):
1 cup walnuts*
1 cup hemp seeds**
3 Tbsp. ghee melted
1 Tbsp. Pure organic coconut sugar
1 Tbsp. coconut flour

Mix all ingredients for crumbled in a food processor.
Put aside.

Final Assembly:

Add Butternut Squash filling to nut crust. Add the crumbled nut topping. Bake in oven for 30 minutes.

Check out the 7 benefits of Walnuts*

Did you know hemp seeds** help with stress relief and are loaded with magnesium? It’s also the highest source of plant based protein with roughly 13 grams of protein in just 3 Tbsp. Learn more

Brazil Nut *** nutrition facts.

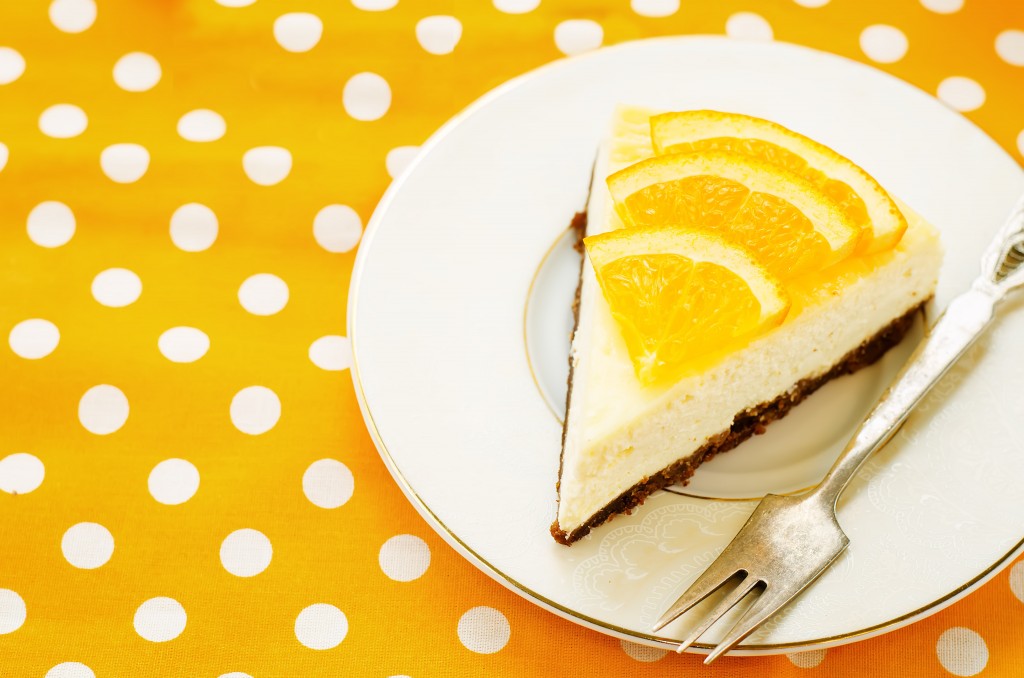
Limoncello Cheesecake

Limoncello Cheesecake

(Best if made the day before)

Ingredients:

3 – (8 ounce) packages cream cheese softened
1 cup mascarpone cheese
1 cup whole milk ricotta cheese
1 cup ricotta cheese whole milk
1 cup sugar
1/3 cup tapioca flour or (cornstarch)
½ cup limoncello liquer
3 large eggs
1 cup heavy whipping cream
2 tbsp. lemon zest
¼ tsp. salt (preferably sea salt)

Crust:

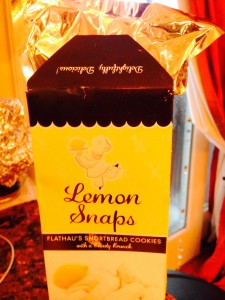
1 box lemon cookies or wafer. i.e lemon shortbread
1/2 stick melted margarine
1- 9 inch spring form pan

photo

Directions:

Preheat the oven to 350 F

Cooking time 75 to 80 minutes

1) Make the lemon crust by blending the lemon cookies in food processor with the melted butter.

2) Place the crumbs in a thin layer on the bottom of a 9-inch spring form pan. Cook until the crust is a slightly browned on top approximately 12 minutes. Chill in freezer for 10 minutes while you make your filling.

     Limoncello Cream Cheese Filling

Place 3 ounce package of the cream cheese,sugar, and the flour in a large mixing bowl. Beat with an electric mixer on low until creamy, about 3 minutes, then beat in the mascarpone cheese and ricotta cheese blend for one minute on medium speed. Scrape the bottom well with a spatula. Add the eggs in one at a time.

Add the heavy cream, while scraping bottom to avoid any lumps with the cream cheese mixture. When well blended add limoncello and zest. Incorporate well.

Gently pour the cheese filling on top of the chilled cookie cracker crumb spring form pan.

Place the spring form pan in a large shallow pan containing hot water that comes about 1 inch up the side of the pan.

Bake the cheesecake until the center barely jiggles when you shake the pan, about 1 hour and 15-20 minutes. Until lightly browned on top and firm.

Turn oven off and leave cheesecake in oven for an hour with door closed. After an hour , remove from oven and cool cake or wire rack or on stove top so air circulates under the cake. This will prevent the top from cracking.

Cover the cake with plastic wrap and refrigerate. Leave in the spring form pan until ready to serve.

Serve with lemon curd or whipped cream to garnish.

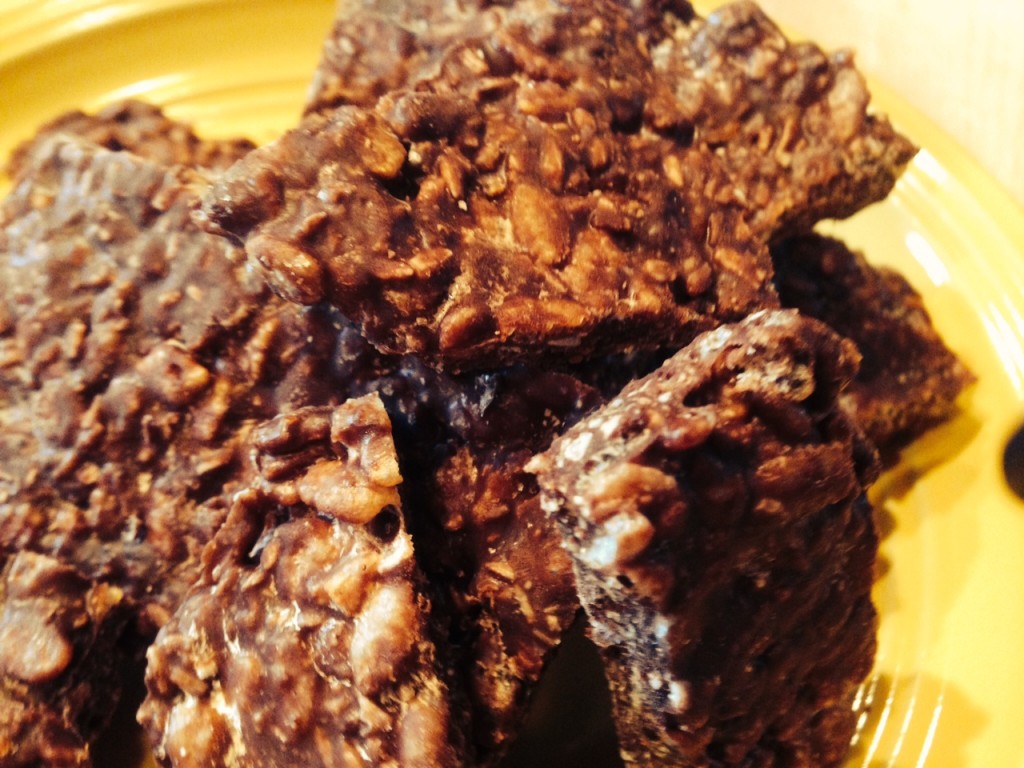
Holiday Chocolate Crunch Bar – Healthy Candy

chocolate crunch bars
Getting Back to Chocolate….
Who says chocolate is not good for you. This chocolate candy with the purest ingredients like Raw Cocoa powder is considered a superfood and is a “healthy way ” to get back to chocolate.”

All ingredients are best left at room temperature ( this allows mixture to come together when stirring and blends well)

2 cups almond butter

3/4 cup of cacao powder
1 cup coconut oil
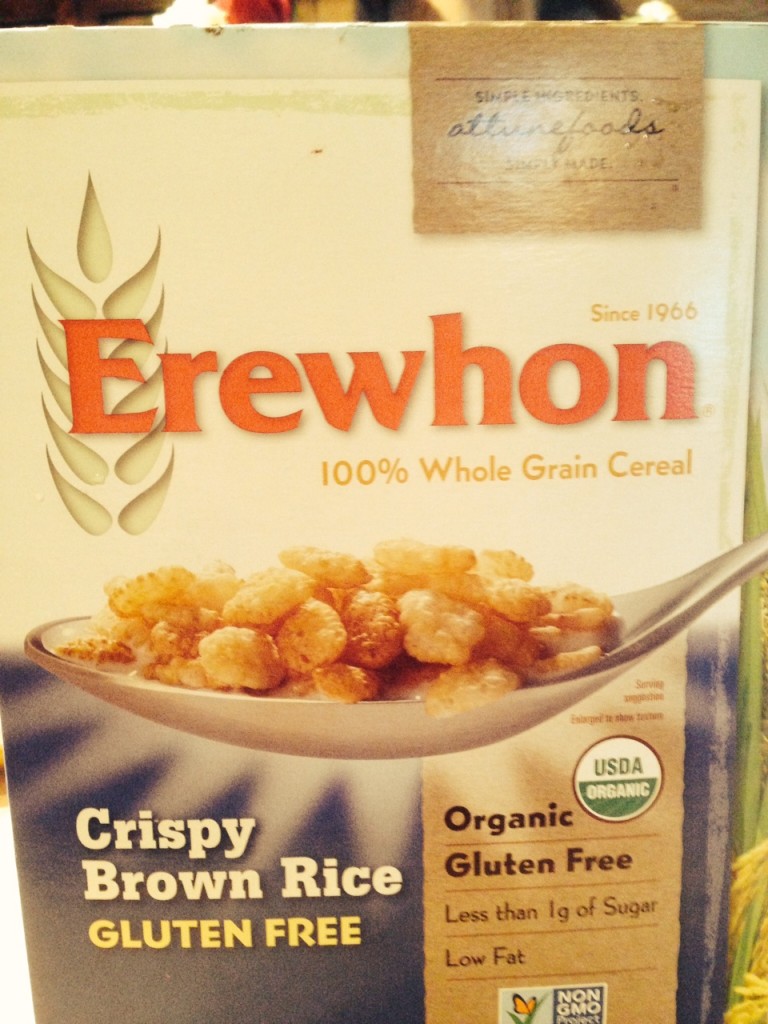
2 cups brown rice crispies
¼ cups honey
¼ cups maple syrup
1 tbsp. Maldon Salt or ( kosher salt)
1 tbsp. vanilla Madagascar paste

Erewho

http://m.vitacost.com/products/navitas-naturals-organic-cacao-powder-raw-chocolate-16-oz-2

http://www.beanilla.com/vanilla/vanilla-paste

Blend all well with rubber spatula. Put chocolate in any favorite mold or place on a cookie sheet and break into bite size pieces when ready for consumption.

Leave in freezer. Take out when ready to serve.
This chocolate bar is so rich in nutrients and flavor you will not crave more chocolate as you would a store bought candy bar.
You will feel satisfied completely with only 1 to 3 ounces of this rich chocolate bar. It will be hard to go back to eating inferior chocolates .
Navitas Naturals Cacao Powder provides us with antioxidants and important minerals like magnesium and iron. It is gluten free, organic kosher and raw. This is cocoa powder in its purest form.
Pure raw chocolate lowers blood pressure Cacao is the highest whole food source of magnesium, which also happens to be the most deficient mineral in the diet of modern cultures. “Magnesium relaxes muscles and the dark chocolate antioxidants have been clinically proven to literally dissolve plaque built up in the arteries which helps in reversing heart disease and causes naturally lower blood pressure. Also, various other vitamins and minerals in raw cacao benefits the cardiovascular. “

** The Theo bromine naturally found in raw cacao is a mild, non-addictive stimulant that some believe can treat depression.

Of course, this chocolate bar is an expensive endeavor but we are all worth it . It is a great way to wean yourself off store bought chocolate

http://www.secrehttp://www.secrets-of-longevity-in-humans.com/raw-cacao-benefits.htmlongevity-in-humans.com/raw-cacao-benefits.html